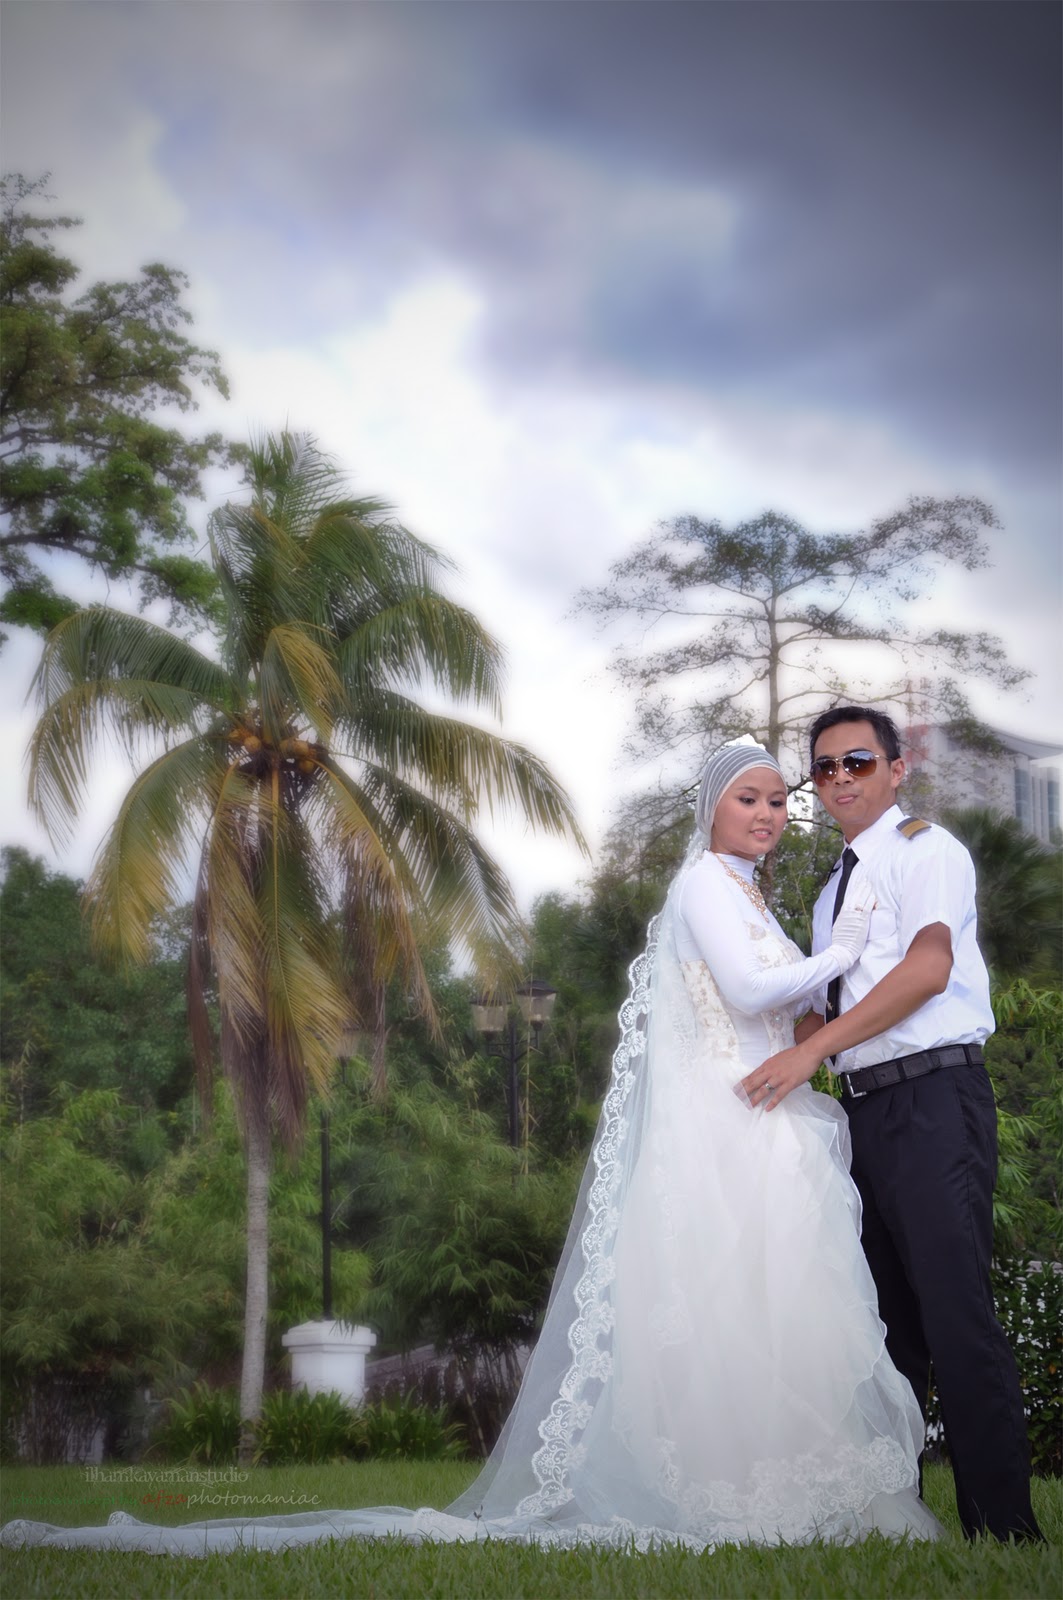
About Me, Myself and I

My photo
Bandar Bukit Puchong, Selangor, Malaysia
I celebrate myself and what I assume you shall assume, for every atom belonging to me, as good belongs to you I need to wash myself again to hide all the dirt and pain cause I'll be scared that there's nothing underneath. I believe a leaf of grass is no less then the journey-work of the stars, And the pismire is equally perfect, and a grain of sand, and the egg of the wren, And the tree toad is a chef-d'oeuvre for the highest, And the running blackberry would adorn the parlors of heaven, And the narrowest hinge in my hand puts to scorn all machinery. And the cow crunching with depress'd head surpasses any statue, And a mouse is a miracle enough to stagger sextillions of infidels.

Wednesday, 14 March 2012

Raffael Lee & Emmy Haywire Studio Photoshoot


MUA:SyakiraVun
PHOTOG: AFZAPHOTOgrafie a.k.a Kyuubi Fitri
TALENT: Raffael Lee | Emmy Haywire


Monday, 27 February 2012

Modern Photoshoot

MUA: Lisna Amlan
PHOTOG: Kyuubi Fitri | AFZAPHOTOgrafie
TALENT: Mell Mawar Alaisyah

Wednesday, 25 January 2012

Pre-Wedding Collections

 IlhamKayamanStudio & the Team Artwork:-
MUA: Incik Fairuz
PHOTOG: Azman Ali, Kyuubi Fitri & Robin Uchiha
TALENT: MrsCute Robin & Ika Angah

Costume, Makeup & Photography by IlhamKayamanStudio & the Team
Need our services? Kindly contact: 016-2303463

Sunday, 22 January 2012

Composition Basics - How to get good Pictures

Composition Basics
  1. Focus:  A shot in focus is crisp and clear, with good definition of object. Most digital cameras have automatic focus and manual focus. Selecting automatic focus allows you to get quick action photos. Selecting manual focus allows you to determine what you want in focus: background, foreground, usually a person's eyes, or one person in front of another. (See depth of field and camera instructions for focus). Some digital camera allows you to fill the frame with the foreground (a bush for example), press the shutter half way (locking the focus), then frame the shot with the background (playground for example) and take the picture. This would make the bush in focus and the playground out of focus. The reverse is also correct. Filling the frame with the playground and pressing the shutter release half way, composing the shot to include the bush, and taking the picture - would allow the background in focus and the bush out of focus. To keep the focus, stay the same distance from the subject as when you "locked" the focus.

  1. Depth: Photographs are two-dimensional. To make images more real and alive we try to give the illusion of depth. Helpful hints: avoid shooting people up against a wall, pull them away from the wall, have them stand with a room or field behind them. Light the subject or have them be the brightest object. Or, if you're shooting a building, shoot it at an angle (from the corner) and have some branches be in the shot - close, yet out of focus (to add an element of foreground depth). 
Foreground - the part of the photo that is closest to the camera - the branches in front of a park scene.
Background - the part of the photo that is farthest from the camera - the mountains behind a park scene.
* Either can be in focus and thus the point or reason for the photograph.
Avoid shadows across faces by putting light and reflected light on the front of the subject. See "lighting hints."


  1. Depth of Field: This is the portion of the photograph that is in clear sharp focus. How much of the picture is crisp? To get lots of the photo in focus have lots of light and have the subject farther away from the camera. You may want to have a shallow depth of field (only the subjects eyes in focus, for example) then you would decrease the light and move the subject closer to the camera.

Can you guess which part is the Depth of Field?


  1. Contrast: Variety adds to your photograph. The subject should be the lightest area of the screen because our eyes are drawn to light. The background behind them should be darker. Placing the sun behind you will assist you in getting good lighting.


  1. Exposure:  Exposure is the amount of light entering the camera.  A picture looks its best with proper light and exposure.  Usually the camera gives automatic exposure. As you get more comfortable with the camera, try manually controlling the lights and exposure to get the best pictures.


  1. Framing:  Fill the screen with the main object. Get a tight shot of your subject.

Notice how the Sunflower fills the shot.

Camera Composition
  1. Headroom: Enough room for the subject's head. Space around their head yet not too much. Too low in the frame (too much headroom) makes them appear short. Not enough headroom makes them look tall and scrunched. Correct headroom gives the subject just enough space around their head to make them look comfortable. 

Not Enough Headroom


Perfect Headroom


  1. Eye placement:  Should be in the top third of the screen (see rule of thirds).  You want the viewer not to notice the camera-work so, make it look natural and standard.


  1. Avoid Distractions:  Keep the photo as basic as possible. Also, look to see what else is in the screen that you may not want there. Are there distracting lines, lights, objects? Clear them out by moving either your camera or your subject. Be aware of light poles, phone lines or antlers that appear to be coming out of people's heads.

Notice the Poles in the Back?  Too Many Distractions!


  1. Avoid "floating heads":   Don't cut people off at the neck - or body joints, this is disconcerting to the viewer.


  1. Give "look-space"/ walking room:  This is space in the frame that is in front of their eyes that allows them room to look or walk. So they don't look like they will bump into the edge of the photograph.

Good Example of Look-Space & Walking Room

Camera Angle
The best place to put the camera for a neutral feeling about the subject is at their eye level.
  1. High angle: In relation to subject placing the camera lower than the subject gives the feeling that the subject is tall or powerful. The viewer is "looking up" to the subject. (For example: a king, president or respected elder).


  1. Low angle: Placing the camera above the subject gives the viewer the feeling that the subject is small or diminutive. The viewer is "looking down" on the subject.


  1. Distance to subject: If the subject is farther away, they appear smaller and also of less importance. Similarly, if the subject is closer to the camera, the subject is bigger in the photo and seems more important. Closer brings out detail - the viewer can see the person's face and expressions.

Rule of Thirds
  1. A pleasing photograph divides the screen into areas - similar to the old game of tic, tac, toe. Where the lines intersect are the best locations to place key objects (or the eyes of a person).


Sample:  This shot has depth and is a wonderful example of headroom, good lighting and placing the eyes in the upper third of the screen.


Notice how when the picture is divided into thirds the balance remains the same throughout the thirds, and the eyes of the man are situated almost directly in the center of the top third.

ShotsTo make your final product more interesting (and informative) include a variety of pictures (shots). Shot sizes range from extreme long shots (person far away), to extreme close ups (just their eyes). Samples:
  1. ELS = Extreme Long Shot (person in surroundings)
  1. LS = Long Shot (whole body)

  1. MS = medium shot (waist up)

  1. MCU = Medium close-up (mid chest up)

  1. CU = Close-up (head and shoulders)

  1. ECU = Extreme Close-up (face - or eyes!)

  1. OTS = Over the Shoulder

  1. Single = one person in the frame

  1. 2-Shot = two people in the frame

  1. 3-Shot = three people in the frame 

Taken from:
http://photoinf.com/General/ITRC_UMT/Composition_Basics_-_How_to_Get_Good_Pictures/Composition_Basics.htm

Guidelines for Better Photographic Composition: Rule of Thirds


You can use the rule of thirds as a guide in the off-center placement of your subjects. Here's how it works.
Grid
Before you snap the picture, imagine your picture area divided into thirds both horizontally and vertically. The intersections of these imaginary lines suggest four options for placing the center of interest for good composition. The option you select depends upon the subject and how you would like that subject to be presented.
Grid superimposed over gull
We picked the upper-right position for this subject so that we could see the full shadow and most of the tracks that lead to the seagull.
Lighthouse
The lighthouse seems well placed in the upper right just because the rest of the scene fits nicely into the format.
Figure on icy pier
Here's a case where you have excellent subject control. You can have the model pose anywhere along the walkway. The rule of thirds indicates this placement which also gives the model a definite path to follow within the picture area.
Figure in tunnel
You should always consider the path of moving subjects and, generally, leave space in front of them into which they can move.
Figure running on beach
If you don't, here's what can happen! This jogger looks like she's going to run right out of the picture.
2nd view of figure running on beach
By placing the subject in the lower-left position, we've used the rule of thirds and given the jogger plenty of room to run within the picture.
X-country skiers
Here's another action shot where it's important to leave more space in front of a moving subject than behind it.
Sailboat on water-horizon middle
You can also apply the rule of thirds guidelines to the placement of the horizon in your photos. Here the center position of the boat and horizon results in a static feeling.
Sailboat on water-horizon upper 3rd
Let's move the horizon to the upper third and the sailboat to the left. Remember, these are the only guidelines. So if you don't like this subject placement, try another.
Sailboat on water-horizon lower 3rd
Like this. We've moved the horizon line to the lower third. In general, place the horizon high or low in your scenics, but rarely in the middle.
2 views of ski lift
Just as it's usually best to place horizons off center, it's also best to place verticals off center. For instance, in the picture on the left, the subject is centered, but on the right, the photographer got a more effective photograph by simply changing the viewpoint.

Taken from: 
http://photoinf.com/General/KODAK/guidelines_for_better_photographic_composition_rule_of_thirds.html

Monday, 16 January 2012

Fantasy Wedding Contest

 Backstage of Fantasy Wedding Contest
 *********************************************************************************
Event: Fantasy Wedding Contest
MUA: Syakira Vun
PHOTOG: afzaphotomaniac | ilhamkayaman a.k.a Kyuubi Fitri
TALENT: Sharifah Eleen Al-Baity

Results:
2nd place for best group
4th place for best costume
Any makeup service, please call 0133229882 or email at jslynvun@yahoo.com